Stepping into the rugged open world of early-access heavy machinery management can feel overwhelming, especially when you are trying to piece together a functional Groundwork Simulator starter mining setup from scratch. Whether you are struggling to get water flowing from the river to your settling ponds or trying to figure out why your excavator controls feel completely reversed, getting your first claim operational requires patience and precision. Building an efficient Groundwork Simulator starter mining setup is the ultimate milestone that separates casual players from profitable gold barons. Without proper planning, you can easily waste hours wrestling with power generators, tangled hoses, and stubborn terrain manipulation mechanics.
Fortunately, community reports and early gameplay breakdowns show that once you understand the core mechanics of water management, mobile trommel operation, and pay dirt stockpiling, your mining venture will run smoothly. In this comprehensive troubleshooting guide, we will break down everything you need to know to get your family claim up and running, fix common control headaches, and optimize your gold yields from day one.
Understanding the Basics: Your Initial Claim Objectives
When you first load onto your family claim, your main priority is following Grandpa’s letter and establishing a reliable infrastructure. Nothing in this game runs without a steady water supply, making fluid dynamics the literal lifeblood of your operation.
According to player experiences during early access, ignoring the recommended tutorial steps often leads to flooded ponds, dry washing plants, and wasted fuel. To help you map out your initial steps, review the core objectives of the opening phase outlined below.
| Objective Phase | Primary Task | Key Equipment Required | Goal |
|---|---|---|---|
| Phase 1 | Water Sourcing | Pump One, Water Hoses | Fill the tailings pond without overflowing |
| Phase 2 | Power & Washing | Mobile Trommel, Generator | Establish continuous screening capabilities |
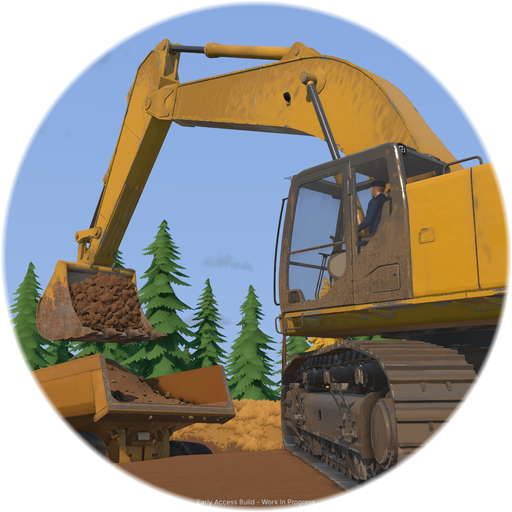
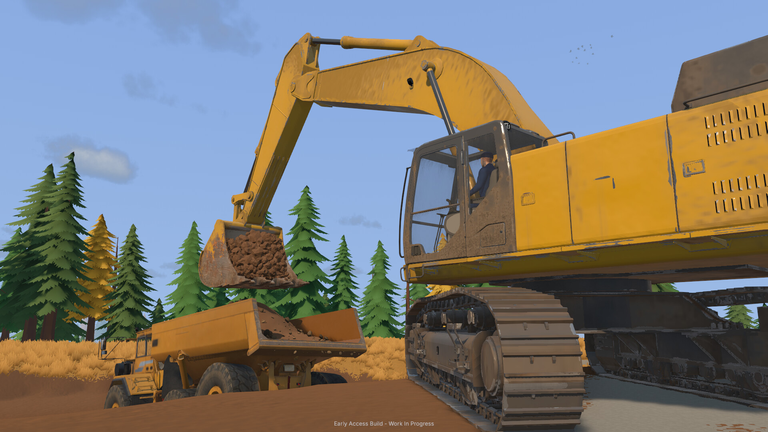
| Phase 3 | Excavation | Rusty Excavator, DT44 Truck | Mine shallow starter cuts and build pay piles |
| Phase 4 | Gold Recovery | Cleanup Table, Buckets | Process concentrates and extract your first gold |
Following this structured path ensures you do not skip critical maintenance milestones. Always remember to check your pump statuses regularly to avoid unnecessary downtime.
Water Routing and Pump Management Troubleshooting
One of the most frequent technical hurdles players face during their initial hours is configuring the water system. Water must be pumped strategically from natural water sources into holding ponds before it can safely feed your heavy machinery.
If you find that your equipment is starving for water, check the following connection points:
- Pump One Input: Must be connected directly to the nearby river or water source using a high-capacity intake hose.
- Pump One Output: Must run straight into your empty settling or tailings pond.
- Pond Monitoring: Keep an eye on the water level. Leaving Pump One running indefinitely will cause the pond to overflow, so toggle the switch off once optimal levels are reached.
- Pump Two Routing: Draws directly from the filled pond to supply the mobile trommel with the high-pressure water needed for the spray bar.
| Issue Encountered | Potential Cause | Troubleshooting Action |
|---|---|---|
| Trommel spray bar dry | Pump Two not activated | Stand at Pump Two, ensure hoses glow, and press E |
| Settling pond overflowing | Pump left running too long | Manually toggle the switch off at the pump housing |
| Low pressure warning | Loose hose connection | Re-click glowing fittings using the left mouse button |
Mastering Excavator and Heavy Machinery Controls
Control schemes are a frequent topic of debate within the community, with many players noting that default excavator and wheel loader mappings can feel counterintuitive or stiff. Because precision digging requires absolute control over your boom, stick, and bucket, you may want to rebind your keys or adjust stick sensitivities in the settings menu immediately.
Community reports indicate that setting up dedicated axes for your right and left sticks—matching configurations found in titles like Gold Mining Simulator—drastically improves digging fluidity.
| Machine Type | Default Control Issue | Recommended Adjustment |
|---|---|---|
| Excavator | Reversed vertical axes | Rebind boom up/down and bucket curl to preferred stick directions |
| Wheel Loader | Complex dumping inputs | Change loader boom and bucket inputs to a single dedicated stick |
| Drill Truck | Awkward stabilization | Ensure stabilizers are fully lowered (G) before drilling |
Taking five minutes to fine-tune these settings will save you from frustrating bucket spills and erratic terrain collisions while loading pay dirt into your haul trucks.
Constructing Pay Piles and Efficient Washing Cycles
Real-world gold mining operations never dump raw dirt directly into a processing plant without a staging strategy, and this simulator rewards that same methodology. Instead of running back and forth haphazardly, establish a dedicated system for your materials.
| Operational Step | Best Practice | Efficiency Benefit |
|---|---|---|
| The Starter Cut | Mine dark gravel veins near low water spots | Higher initial gold concentration per bucket |
| Stockpiling | Use the wheel loader to build compact pay piles | Allows continuous plant feeding without excavator delays |
| Tailings Management | Push processed waste rock away from the wash line | Prevents path blockage for your haul trucks |
| Overfilling Buckets | Maximize loader capacity (~118%) | Moves more dirt per cycle without wasting spillage |
For more tips on heavy machinery positioning and economic strategies, check out community discussions on the official Steam Community Hub for Mining Simulators.
Gold Cleanup and Prospecting with Drill Rigs
Once you have successfully run your pay dirt through the trommel, it is time to reap the rewards at the cleanup table. Turn off your wash plant to conserve water and battery power, collect your filled buckets, and head to the cleanup station.
- Cleanup Table Operation: Place your buckets near the table, load the concentrate, and set the in-game time speed (up to 120x) to accelerate the separation process.
- Collecting the Yield: Once processing finishes, retrieve your gold jar to officially record your earnings.
- Deep Prospecting: Use your earned capital to rent advanced equipment like the DR64 drill truck via the machine dealer. This allows you to punch 4-meter bore holes, analyze subterranean pay layers, and log rich deposits across the expansive open-world map.
Frequently Asked Questions
What is the most important first step in a Groundwork Simulator starter mining setup?
Getting your water infrastructure running is vital. You must connect Pump One from the river to your settling pond, and then set up Pump Two to feed the mobile trommel before you can wash any pay dirt.
Why won’t my mobile trommel turn on?
Ensure that your large mobile generator is parked nearby, fueled up, and activated by pressing G. The trommel also requires both an active water supply from Pump Two and operational power to spin its screening drum.
How do I fix awkward excavator controls?
Go into the settings and adjust your control bindings. Many players prefer rebinding the excavator and loader axes to mimic traditional simulator layouts for smoother terrain manipulation and bucket control.
Can I run my mining plant without a pay pile?
While technically possible, dumping dirt directly into the plant slows down your workflow. Building a compact pay pile near the gravel path using a wheel loader keeps your washing plant running continuously for maximum profit.